AARP Hearing Center
From Facebook to Framing: Guide to Printing Photos
By Beth Carpenter, January 9, 2012 02:06 PM
The following is a guest blog from Steve Morgenstern, who frequently contributes technology content to AARP. You can read more from Steve here, and catch all his guest blogs here.
Yeah, I know, all the cool kids show off their photos today by pulling them up on a smartphone screen or posting them on Facebook, but for many traditionalists - very much including my lovely wife - a photo just isn't satisfying unless it's printed on a piece of paper. And it's hard to argue with her contention that showing off a picture of our daughter is a lot easier if it's a 4x6 print than a file lurking in an electronic device. With that in mind, here are some quick tips for successful photo printing.
Base Print Size on Resolution. If you used a recent digital camera and shot a picture at its top resolution, you're good to go for huge prints - far larger than the average home printer can handle. Sometimes, though, you get an emailed image, or download a picture from an online site, that's no longer at full camera resolution, and won't look good in a large print.
If you don't know how many megapixels are in the image, you can find out by looking for the photo dimensions on your computer. Look at the file information on your PC (right-click to select the file, then look at Properties) or Mac (choose the file and use Command-i to open the File Info panel). You'll find horizontal and vertical dimensions but not megapixels per se. Just multiply the two figures together - 1000 pixels equals 1 megapixel.
Now here are some basic guidelines for printing optimal-quality photos. For a 2-megapixel file, stick with 4x6" paper or smaller. You can make a good-looking 5x7" from a 3-megapixel file, and with a 5 or 6 megapixel image you're set for full-size prints up to 11x14"
Edit Your Images First. Before investing in printer ink and paper, run your pictures through an image editing program. My favorite program for consumers is Adobe Photoshop Elements 10, available for $79.99 or less, but there are several first-rate free programs too, including Paint.Net and Picasa. You can get fancy about the photo-fixing project if you're up for it, but even two easy tweaks will make a huge difference with minimal effort. Crop so only the good stuff is left. And try the program's Autocorrect feature to see if it improves the image (you can aways Undo if it doesn't). Finally, save your edited image under a new filename, rather than wipe out the original.
Invest in Photo Paper. Plain paper just doesn't give the bright, colorful results that special photo paper does. Choose glossy or matte based on your preferences (black and white photos often look good on matte, while most of us expect the visual "pop" of glossy for color photos). You'll find many different brands of photo paper on store shelves, but different printer makers use different kinds of ink, so I always choose the printer manufacturer's own paper brand to ensure the best results.
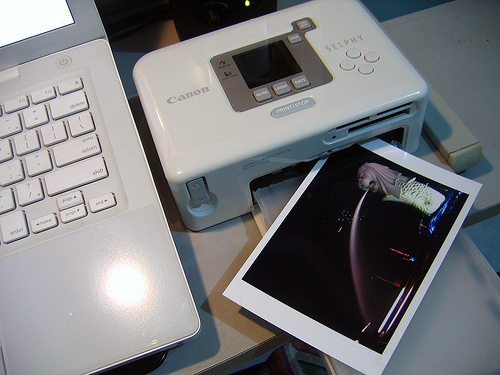
Photo: Canon Selphy CP720 Compact Photo Printer via danes96.


